DIY Guide to Handmade Sage Smudge Bundles
PLUS my Adventure Wild Harvesting California Sagebrush

One of the most exciting things for me about traveling across the U.S. is discovering so many new landscapes, ecosystems, and native plants and animals.
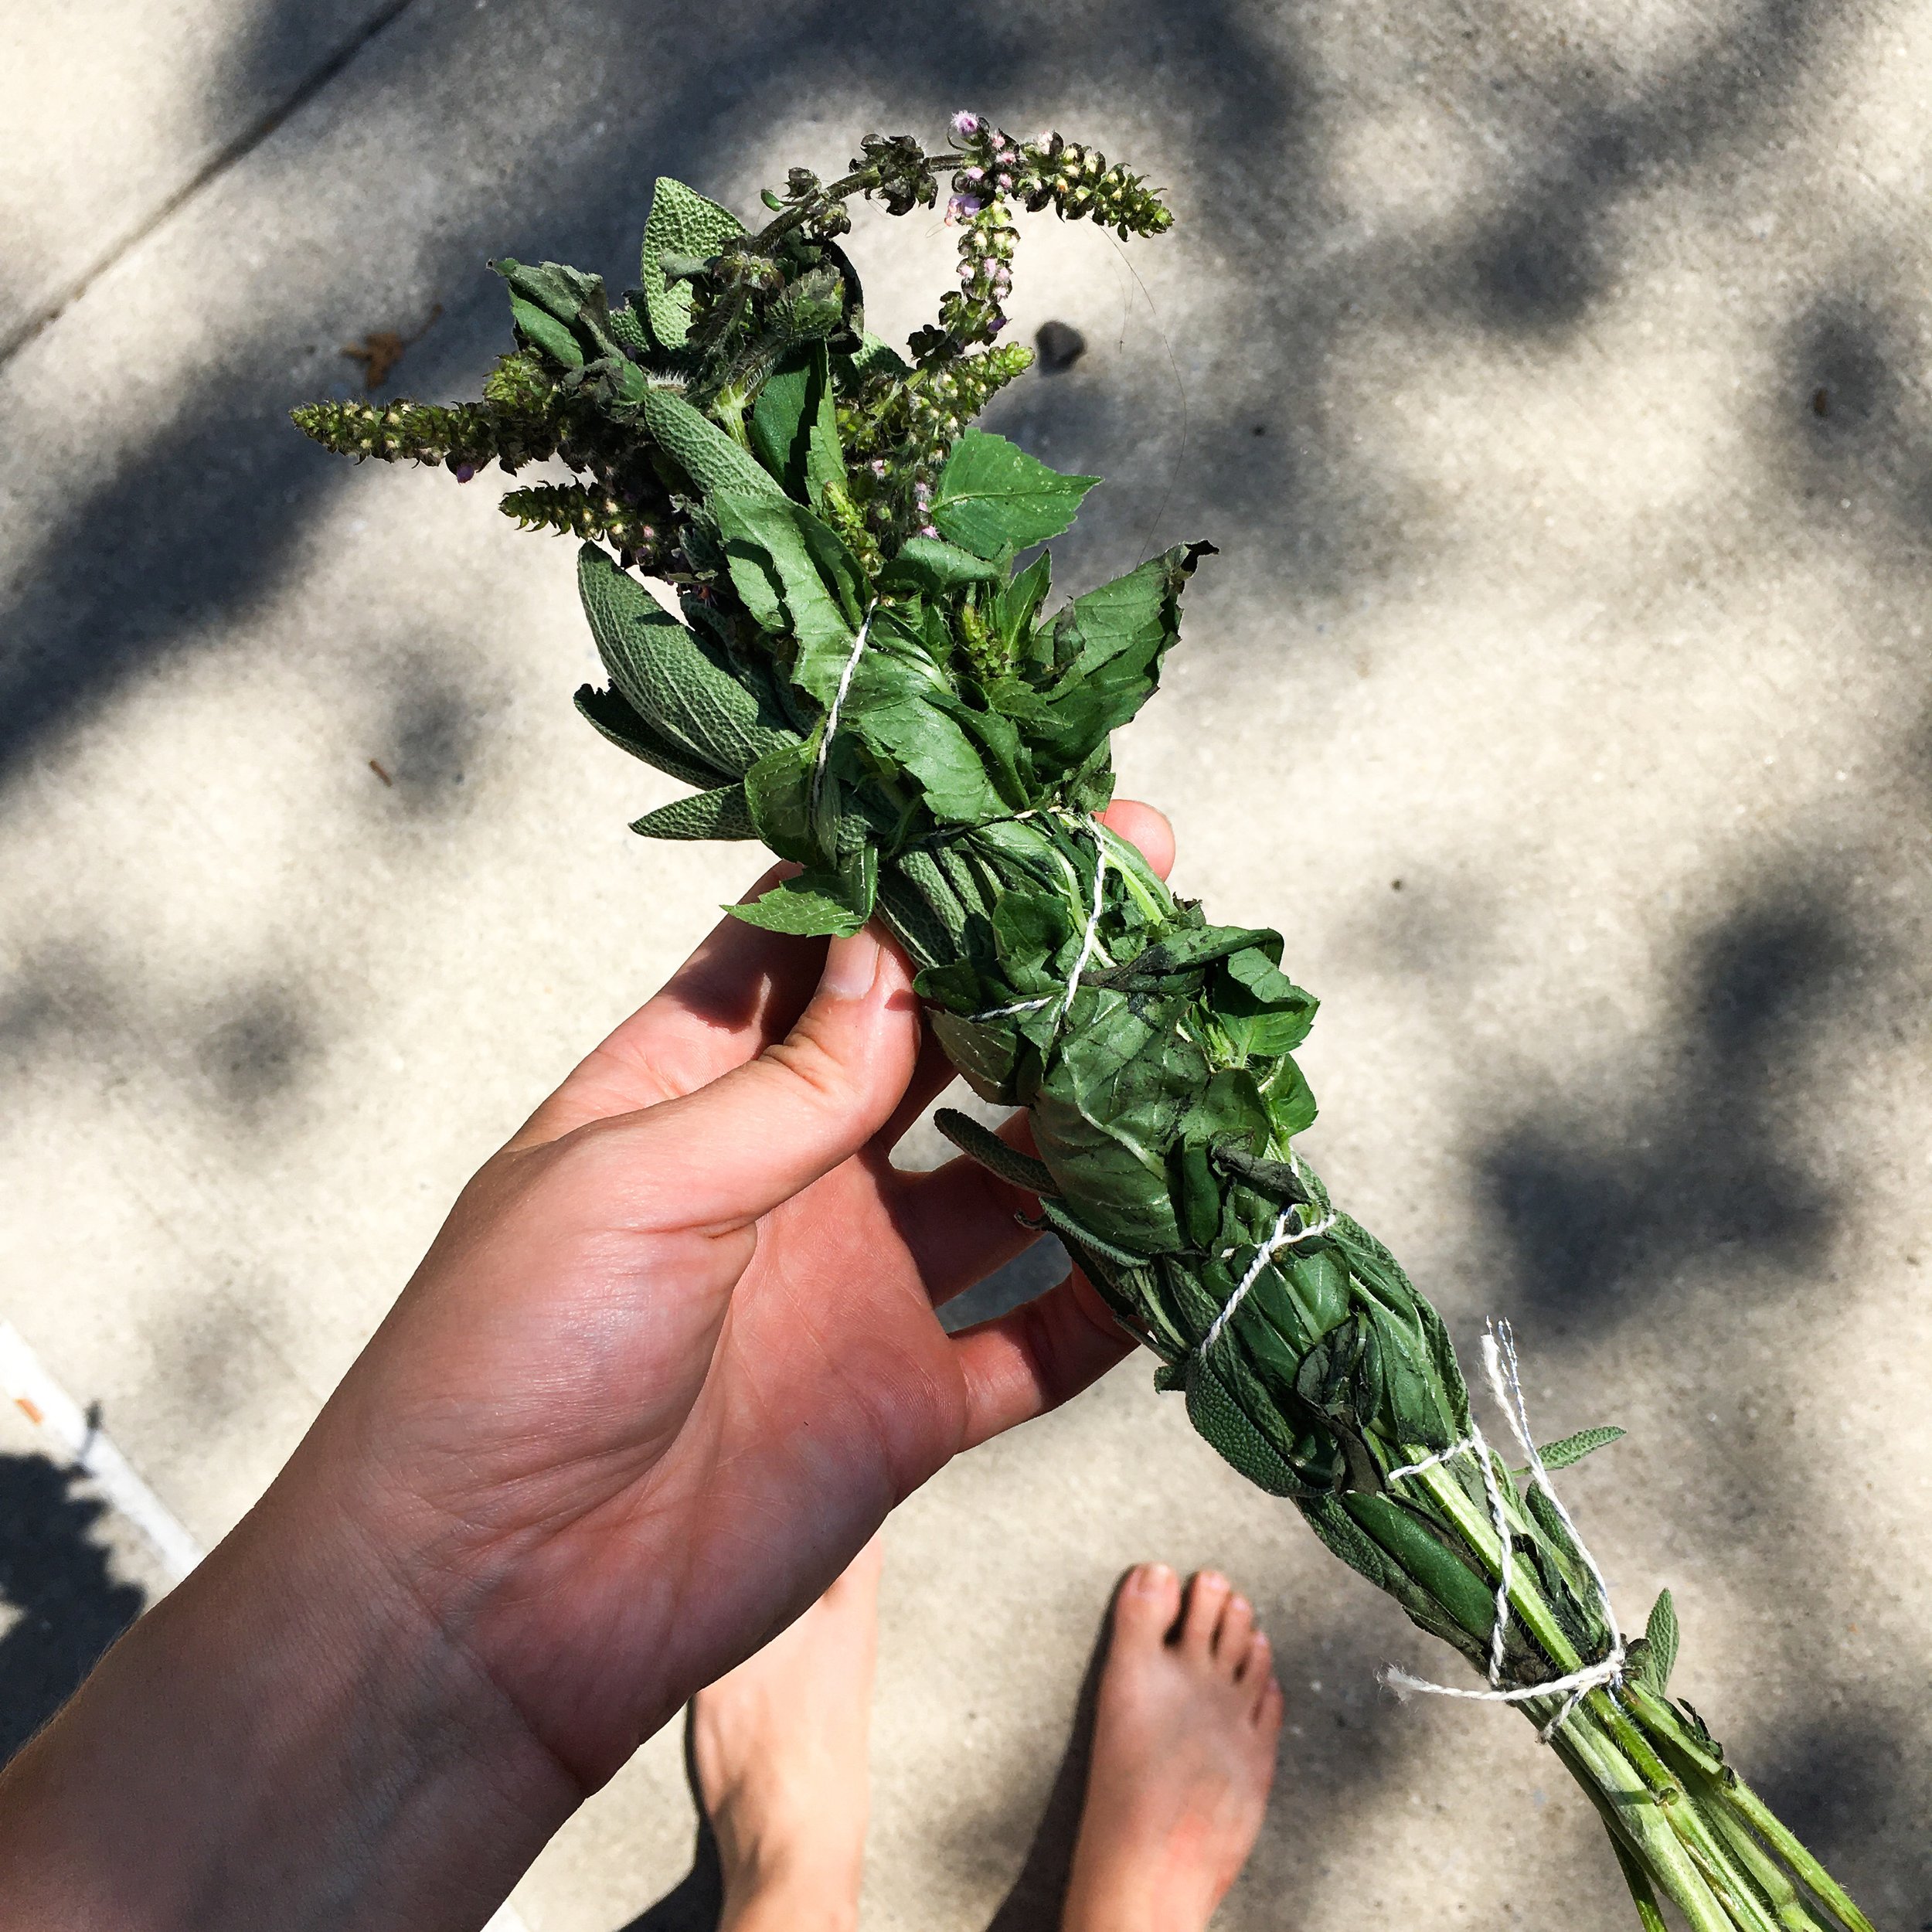
I’ve was really looking forward to California, knowing that sage and sagebrush grow wild here, and that I could sustainably wild harvest some within the national forests.
Join me today in sunny California to learn how and where to wild harvest Sagebrush (Artemisia Tridentada) and how to turn this healing herb, as well as White Sage, into a smudge bundle for cleansing and healing ceremonies. I'll even show you how to add a quartz point to your bundle for boosted cleansing power!
Leave any questions you have in the comments, and don't forget to subscribe and "ring the bell" for video notifications!
Sagebrush also goes by several other names, including Artemisia Tridentada, Big Sagebrush, Desert Sage, and Great Basin Sagebrush. For years it has been traditionally used by Native Americans for purifying ceremonies. It is also related to Mugwort and Wormwood, two other healing herbs known for cleansing properties and support for female health.
I often receive questions about how to properly cleanse crystals. The easiest and safest way to cleanse them is by burning sage. You can also cleanse your home with this same smudging technique.
With this bundle of wild harvested Sagebrush, you can create your own Sacred Space. You can also cleanse your crystals whenever you feel their energy lose clarity or strength. After cleansing, you can reset the original Affirmation or any other of your choosing. This will reprogram your crystal and prepare it for continued healing.
Want to know how to make your own Sage Smudge Bundles?
It’s SO easy! Here we go:
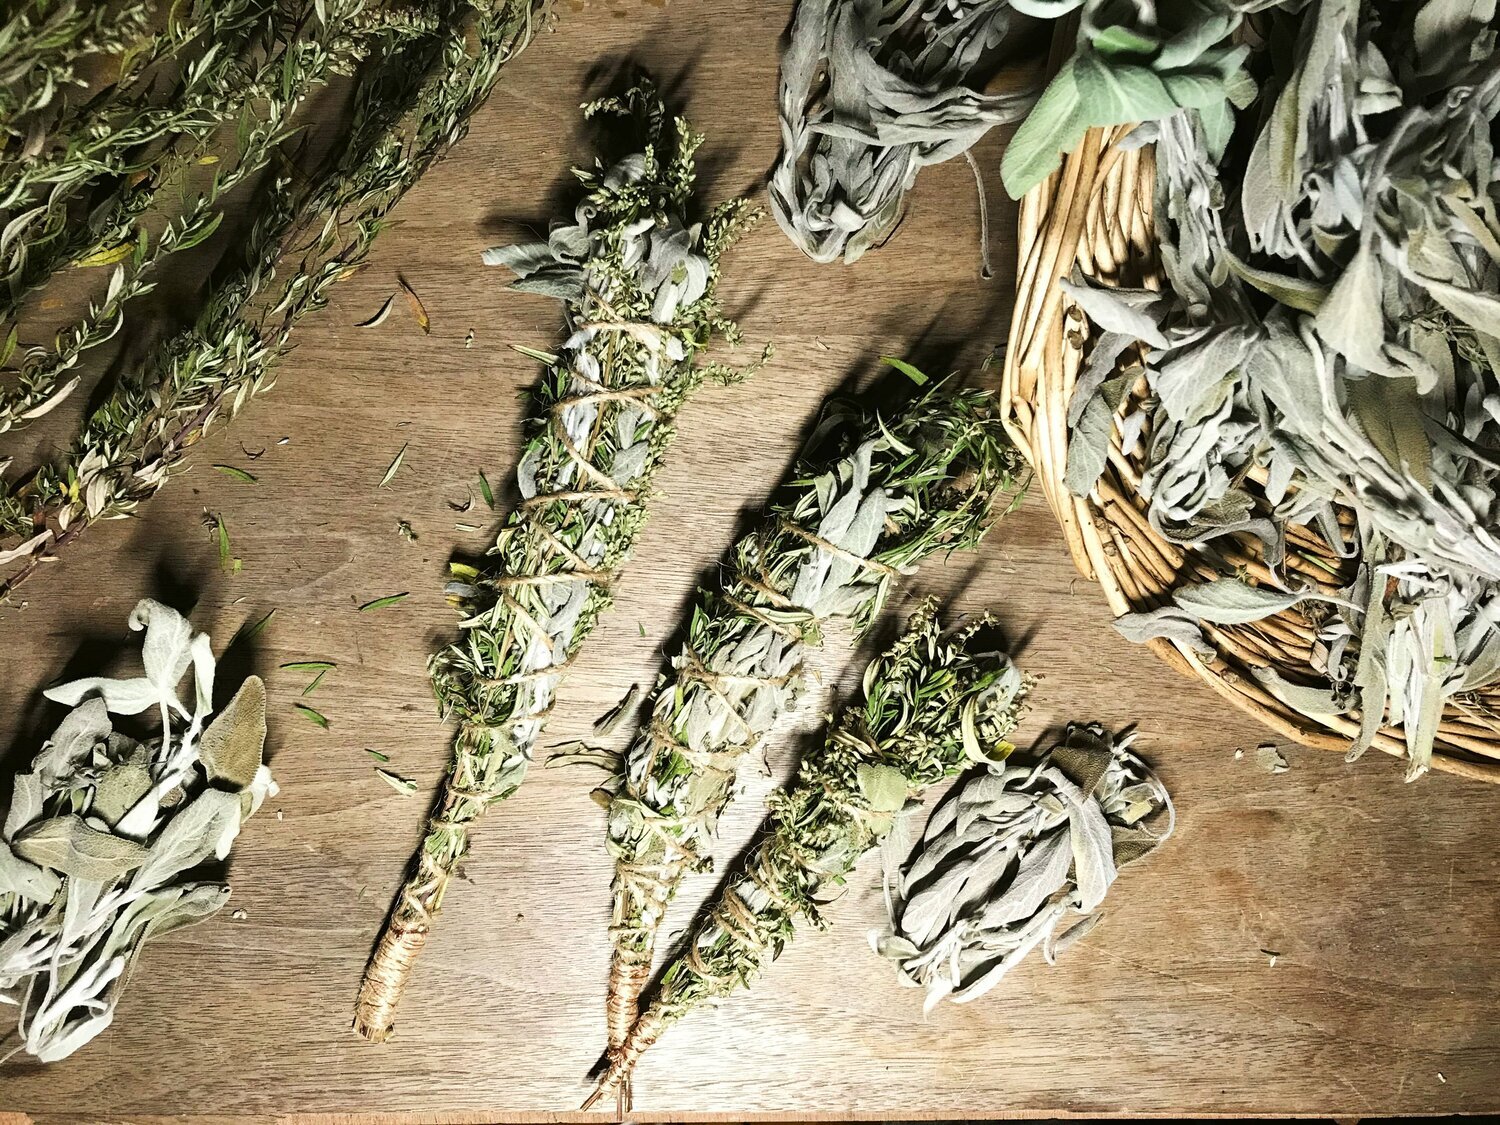
DIY Sage Smudge Bundles in 5 Simple Steps
MATERIALS:
2 packs of organic Sage from the grocery store (or wild harvested sagebrush)

Not a DIYer? Shop my sage bundles here.
1 Spool of bakers twine
Optional: other smudging herbs or crystals*
INSTRUCTIONS:
1. Lay out the Sage on a work surface.
2. Grab your baking twine and lay one strand down the whole length of the herbs.
3. Now wrap the thread all the way back up the bunch of herbs and back down again. (In this way you are wrapping around your original thread strand, so it's trapped and won't wiggle loose) *Note: wrap REALLY tightly, because the herbs shrink as they dry.
4. Tie off the end of the string and cut from the spool of thread.
5. Hang your Smudge Stick to dry for 1 week.
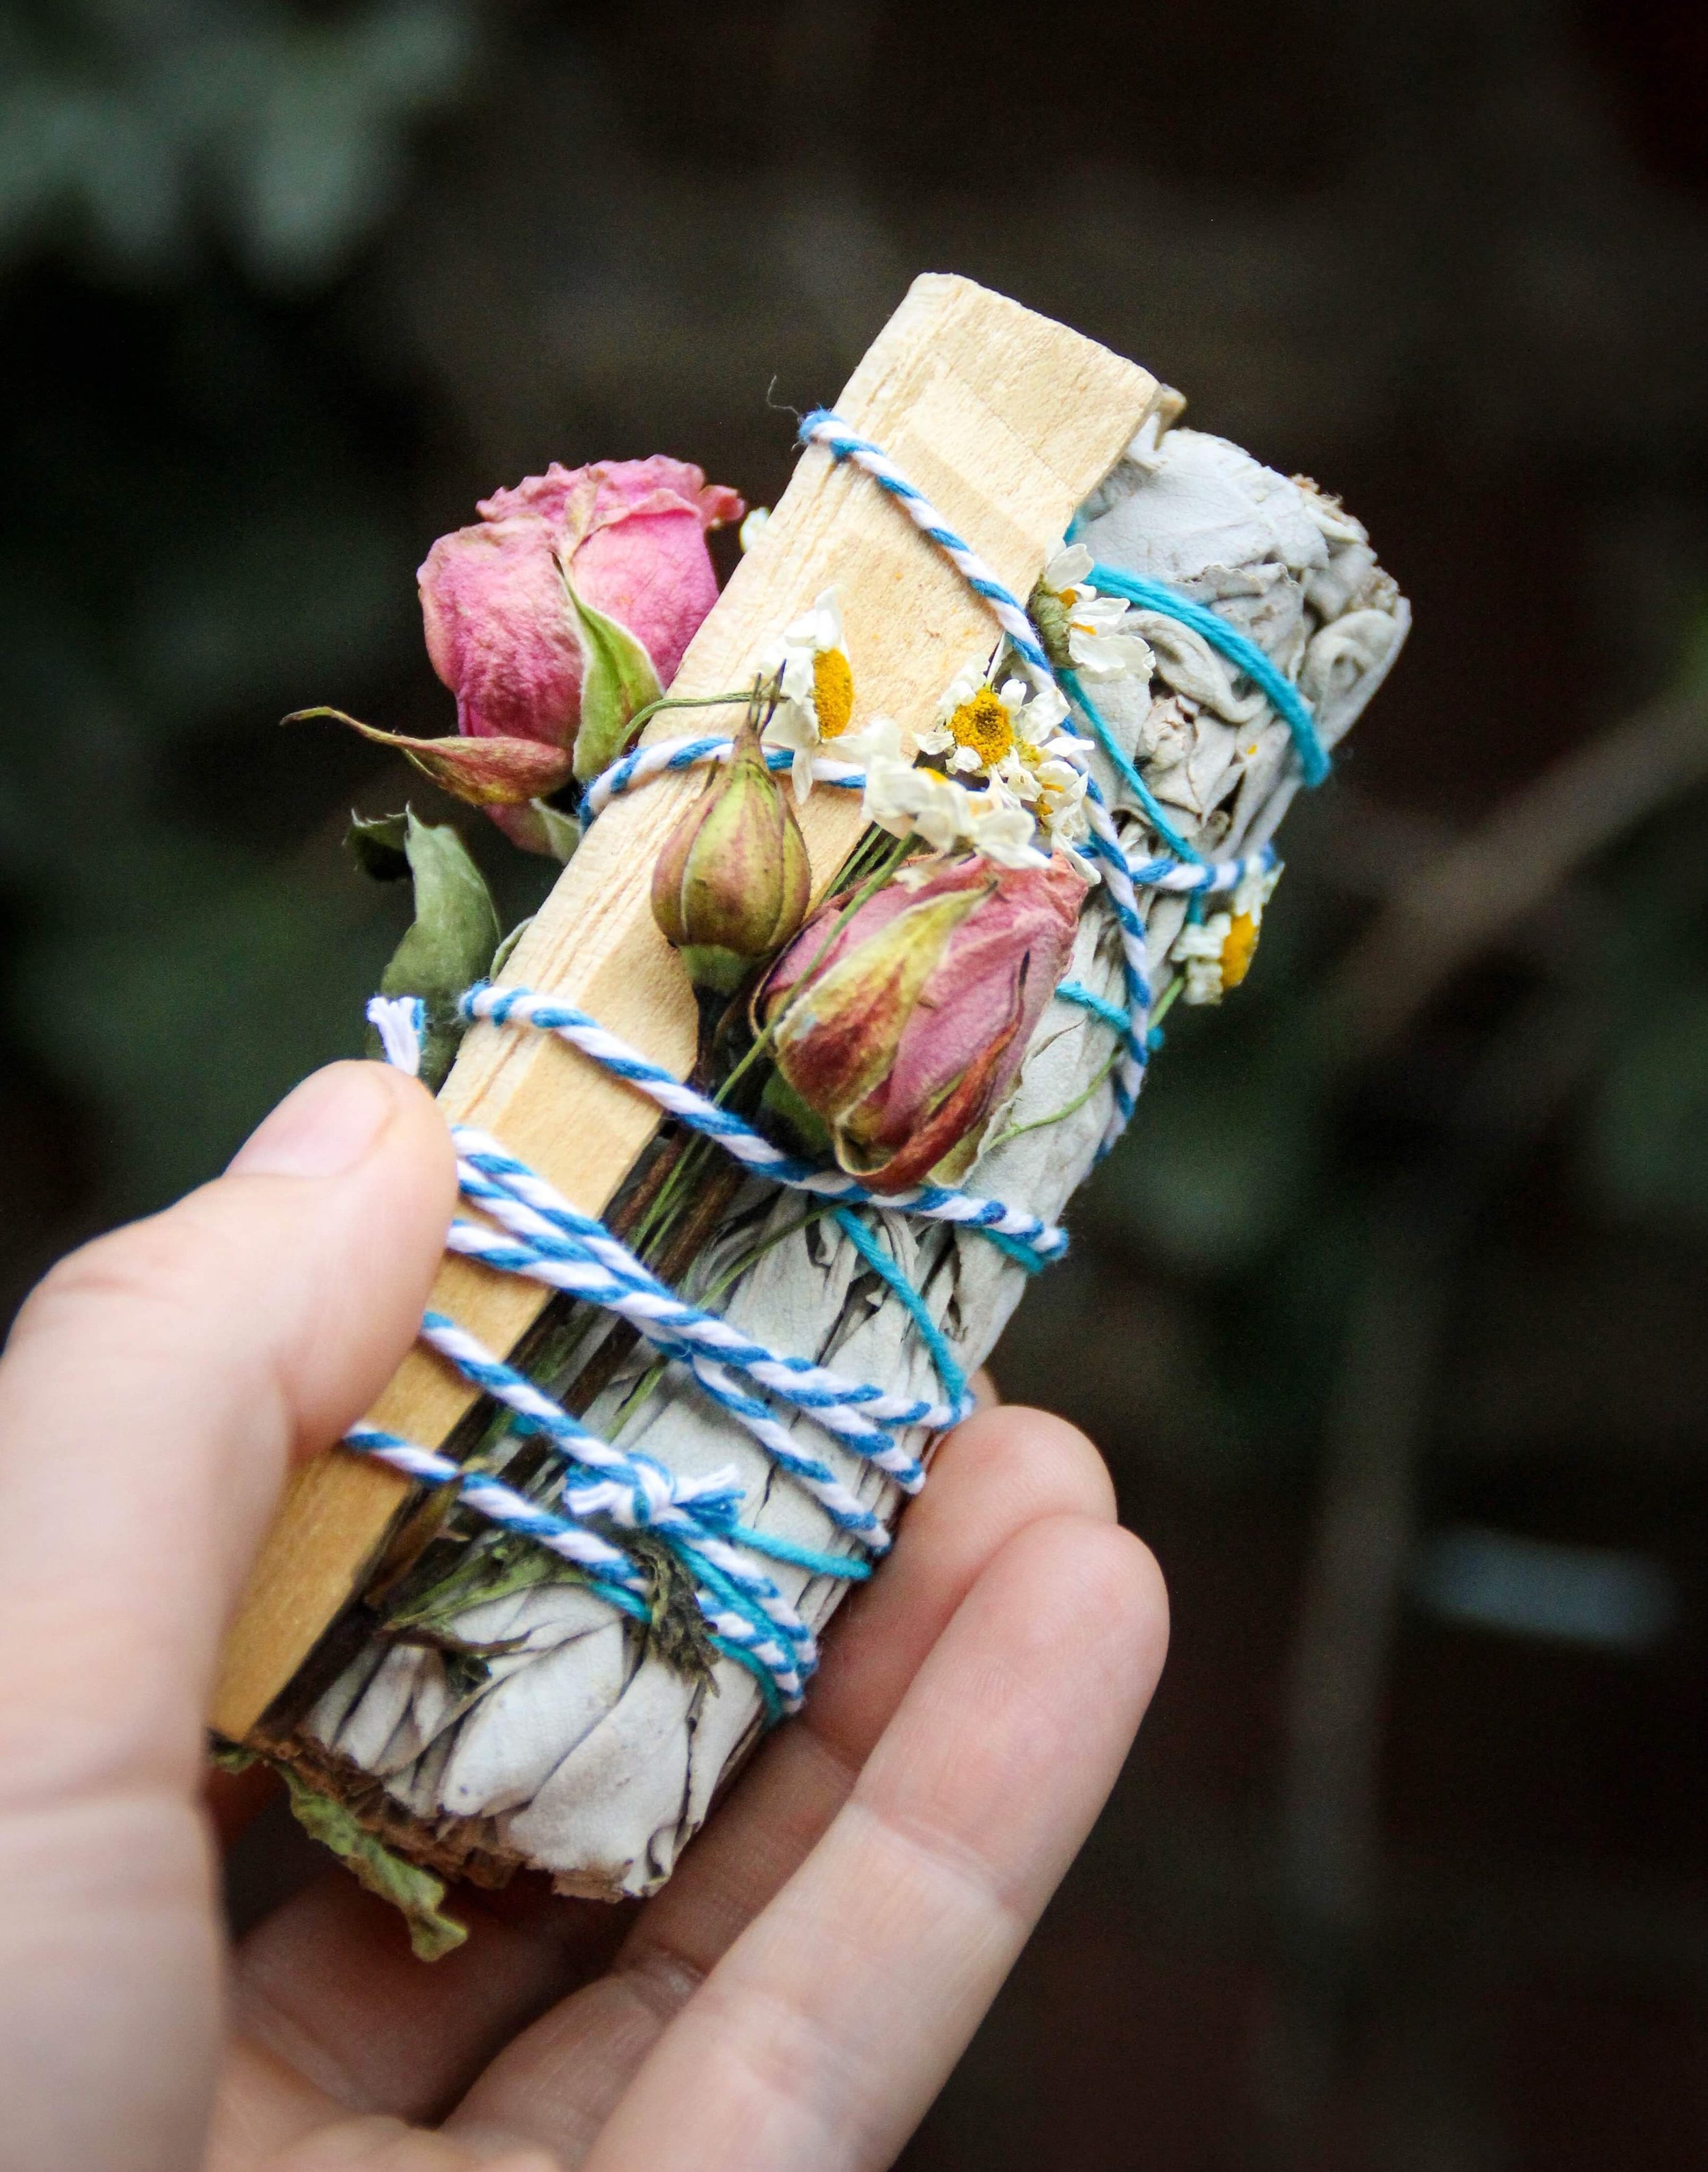
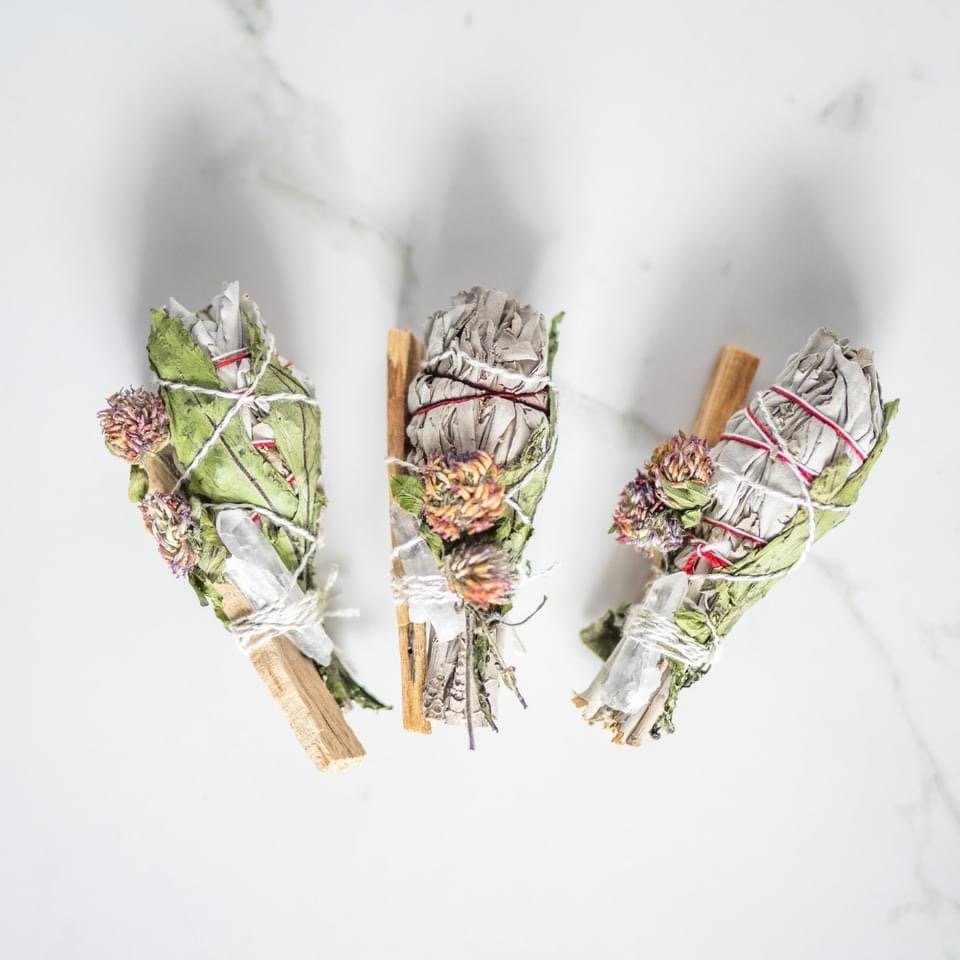
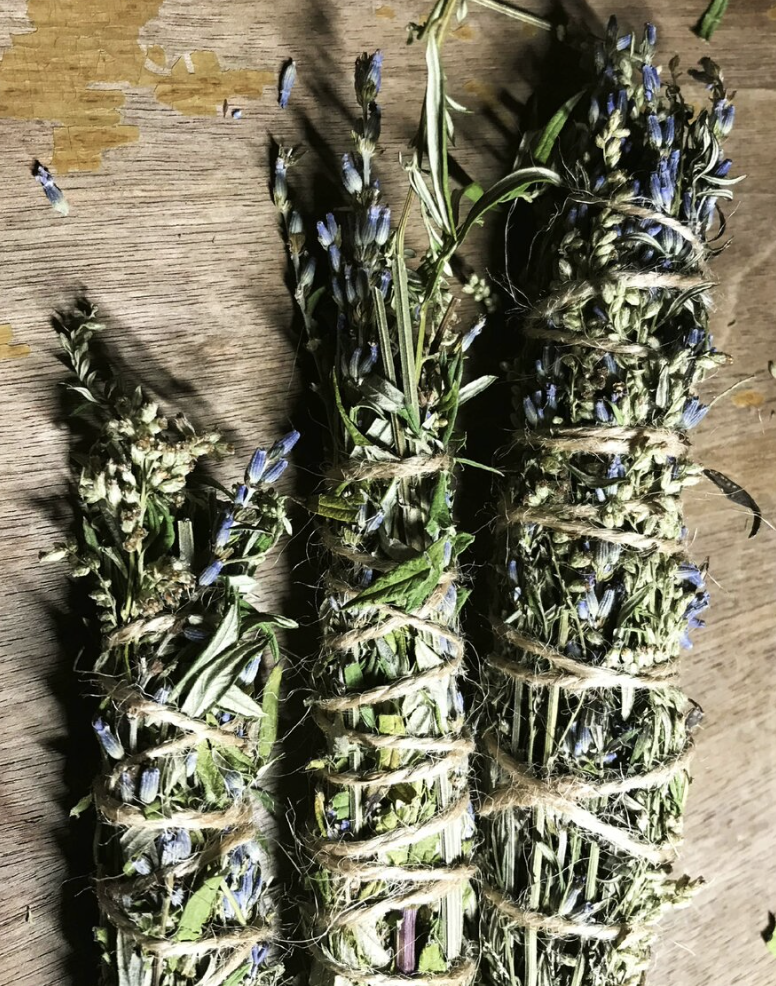
OPTIONAL: Add other herbs and crystals for broader energetic effects. Below are just a few herbs that are traditionally used, along with their attributed healing effects.
sage (white sage, garden sage, etc) — negative energy clearing
mugwort — spiritual cleansing, lucid dreams
rosemary — cleansing + uplift energy
lavender — calming
rose petals — meditation + calming + attracts love
peppermint — healing + protection
thyme — protection
clear quartz point — healing or intention setting
smoky quartz point — releasing negative energy
citrine point — abundance
That's it! Wasn't that easy?! Now just a few tips on the smudging process...
TIP 1: Open a door or window so the smoke and negative energy have somewhere to go.
TIP 2: When you light the stick, let it burn for about 30 seconds to 1 minute and then snuff out the flame if it doesn't go out on its own.
TIP 3: Traditionally you would use an abalone shell or a smudging vessel, but you can also use ceramic plate large enough to catch any falling bits of ash or herb.
TIP 4: You can use a feather or a piece of paper to waive the smoke throughout the room. Get into all the nooks and crannies!
TIP 5: Speak or think specific, uplifting thoughts as you go, setting an intention to make the space clear of negativity and open for all the wonderful, positive energy to flow in.
Don't be afraid to experiment with your choice of herbs. I think Rose Petals, Lavender, and Sage would be divine for Valentines Day!