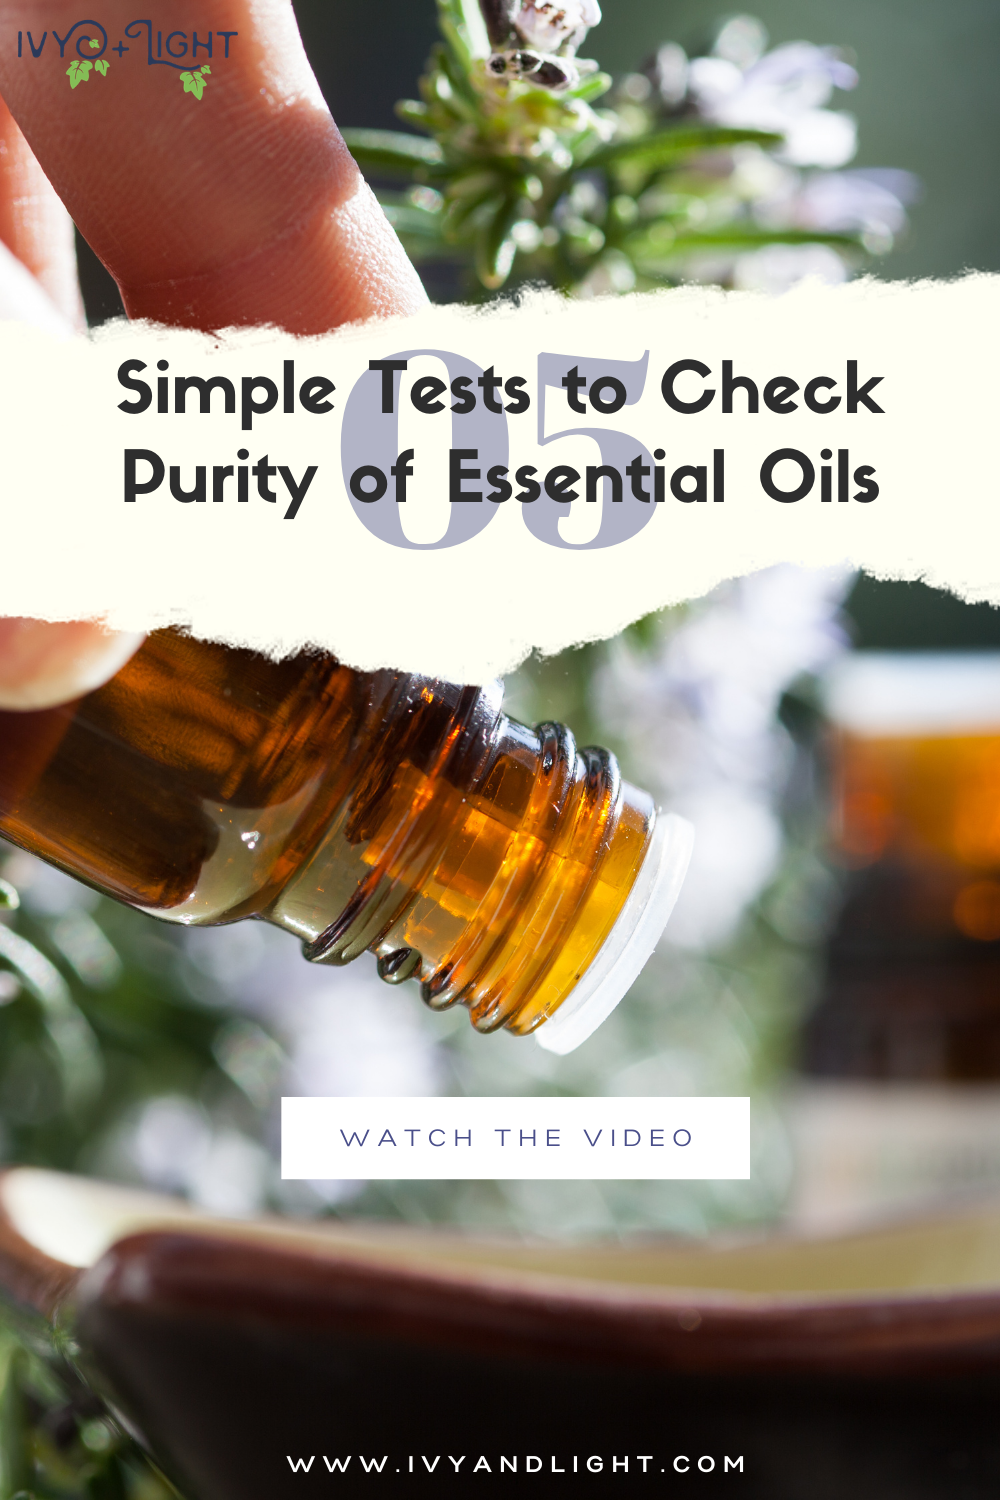
5 Simple Tests to Check the Purity of your Essential Oils
Today I want to share 5 simple tests you can perform at home to help you check the purity and healing power of your oils. You'll discover if they've been watered down, contaminated with chemicals, or filled with inferior oils. Hopefully, yours will pass with flying colors, but if not, it's ALWAYS better to KNOW!
These tests come from Jen O Sullivan's book VITALITY: The Young Living Lifestyle. She's an excellent resource no matter what brand you use.
Tests to Check Essential Oil Purity

Stick your oils in the freezer.
If they freeze, that means they contain water. This test is best done with new oils with closed lids because no moisture from the air has gotten in that might contribute to it having some sort of water.
Smell Test.
Check out the top, middle, and bottom notes on your essential oil.
This test is about the specific smell and how it affects you. You check the top note first, wait 30 minutes. Then the middle note, wait 30 more minutes, and then the bottom note, which are the molecules that are lasting the longest without dispersing into the air.
Asking yourself all the questions I mention in the YouTube video will help guide you through the process. If you get a headache from any of the scents, something is off, since you shouldn't get a headache from a natural botanical.
Chemical Reaction Test.
In this test, you’ll create a chemical reaction between added chemicals in an oil brand. To do this, get a new dropper bottle, take your three essential oils, and drop 10 drops of each into your new dropper bottle. Leave them for 24 hours and see what happens.
At the end of 24 hours, put a drop in your hand, smell it immediately. Rub it in, then compare how it smells now compared to how it is an hour later. If it smells off, that is a huge red flag that there are some extra chemicals in here that created a chemical reaction that is letting off something that you don't want.
Action Test.
This is the test that will let you know if the oil is doing the job that you want it to do for you.
Try this with one brand. Try it with another brand at different moments, the moment where you're needing the most support and see what that action is that it has the depth of it, how quickly does it help support you in that scenario. This is going to be individual because we're individual bodies. Ask: Does this essential oil do the thing that you're hoping it will do.
Filler test.
This test will let you know if there are any added oils that are taking up space in the bottle that is not an essential oil.
Place one drop of your essential oil onto a piece of cotton rag paper and then check back in 30 minutes, after 12 hours, then beyond 12 hours to see if there is any stain. If in 30 minutes, there’s no sign that there was ever an oil, that means alcohol was used as a carrier. After 12 hours, lemon should have a slight yellow tint. If your lavender or your peppermint show any sort of an oil mark left over after 12 hours, that means they are using a carrier oil as a way to fill up that bottle of oil and give you less essential oil.
So that's it! I hope you find oils that work for you. Oils that are pure, and will help you to feel better every day. If you're unhappy with the results of the brand that you have tried, then feel free to come and ask me questions about the brand that I use. But I just want to get this into your hands so that you are able to take care of this yourself make sure that you're doing the best for your mind, body and spirit and that you can get the most support out of your essential oils.
Grab our EO Test Worksheet to walk you through the 5 tests step by step.